This is the first blog post in this series about LXD 2.0.

A few common questions about LXD
What’s LXD?
At its simplest, LXD is a daemon which provides a REST API to drive LXC containers.
Its main goal is to provide a user experience that’s similar to that of virtual machines but using Linux containers rather than hardware virtualization.
How does LXD relate to Docker/Rkt?
This is by far the question we get the most, so lets address it immediately!
LXD focuses on system containers, also called infrastructure containers. That is, a LXD container runs a full Linux system, exactly as it would be when run on metal or in a VM.
Those containers will typically be long running and based on a clean distribution image. Traditional configuration management tools and deployment tools can be used with LXD containers exactly as you would use them for a VM, cloud instance or physical machine.
In contrast, Docker focuses on ephemeral, stateless, minimal containers that won’t typically get upgraded or re-configured but instead just be replaced entirely. That makes Docker and similar projects much closer to a software distribution mechanism than a machine management tool.
The two models aren’t mutually exclusive either. You can absolutely use LXD to provide full Linux systems to your users who can then install Docker inside their LXD container to run the software they want.
Why LXD?
We’ve been working on LXC for a number of years now. LXC is great at what it does, that is, it provides a very good set of low-level tools and a library to create and manage containers.
However that kind of low-level tools aren’t necessarily very user friendly. They require a lot of initial knowledge to understand what they do and how they work. Keeping backward compatibility with older containers and deployment methods has also prevented LXC from using some security features by default, leading to more manual configuration for users.
We see LXD as the opportunity to address those shortcomings. On top of being a long running daemon which lets us address a lot of the LXC limitations like dynamic resource restrictions, container migration and efficient live migration, it also gave us the opportunity to come up with a new default experience, that’s safe by default and much more user focused.
The main LXD components
There are a number of main components that make LXD, those are typically visible in the LXD directory structure, in its command line client and in the API structure itself.
Containers
Containers in LXD are made of:
- A filesystem (rootfs)
- A list of configuration options, including resource limits, environment, security options and more
- A bunch of devices like disks, character/block unix devices and network interfaces
- A set of profiles the container inherits configuration from (see below)
- Some properties (container architecture, ephemeral or persistent and the name)
- Some runtime state (when using CRIU for checkpoint/restore)
Snapshots
Container snapshots are identical to containers except for the fact that they are immutable, they can be renamed, destroyed or restored but cannot be modified in any way.
It is worth noting that because we allow storing the container runtime state, this effectively gives us the concept of “stateful” snapshots. That is, the ability to rollback the container including its cpu and memory state at the time of the snapshot.
Images
LXD is image based, all LXD containers come from an image. Images are typically clean Linux distribution images similar to what you would use for a virtual machine or cloud instance.
It is possible to “publish” a container, making an image from it which can then be used by the local or remote LXD hosts.
Images are uniquely identified by their sha256 hash and can be referenced by using their full or partial hash. Because typing long hashes isn’t particularly user friendly, images can also have any number of properties applied to them, allowing for an easy search through the image store. Aliases can also be set as a one to one mapping between a unique user friendly string and an image hash.
LXD comes pre-configured with three remote image servers (see remotes below):
- “ubuntu:” provides stable Ubuntu images
- “ubunt-daily:” provides daily builds of Ubuntu
- “images:” is a community run image server providing images for a number of other Linux distributions using the upstream LXC templates
Remote images are automatically cached by the LXD daemon and kept for a number of days (10 by default) since they were last used before getting expired.
Additionally LXD also automatically updates remote images (unless told otherwise) so that the freshest version of the image is always available locally.
Profiles
Profiles are a way to define container configuration and container devices in one place and then have it apply to any number of containers.
A container can have multiple profiles applied to it. When building the final container configuration (known as expanded configuration), the profiles will be applied in the order they were defined in, overriding each other when the same configuration key or device is found. Then the local container configuration is applied on top of that, overriding anything that came from a profile.
LXD ships with two pre-configured profiles:
- “default” is automatically applied to all containers unless an alternative list of profiles is provided by the user. This profile currently does just one thing, define a “eth0” network device for the container.
- “docker” is a profile you can apply to a container which you want to allow to run Docker containers. It requests LXD load some required kernel modules, turns on container nesting and sets up a few device entries.
Remotes
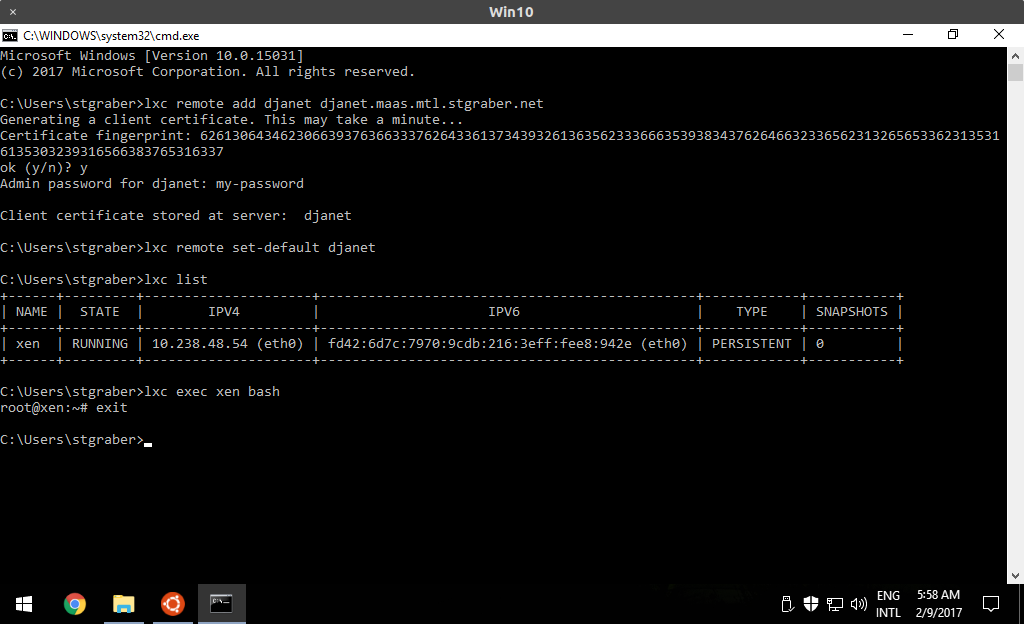
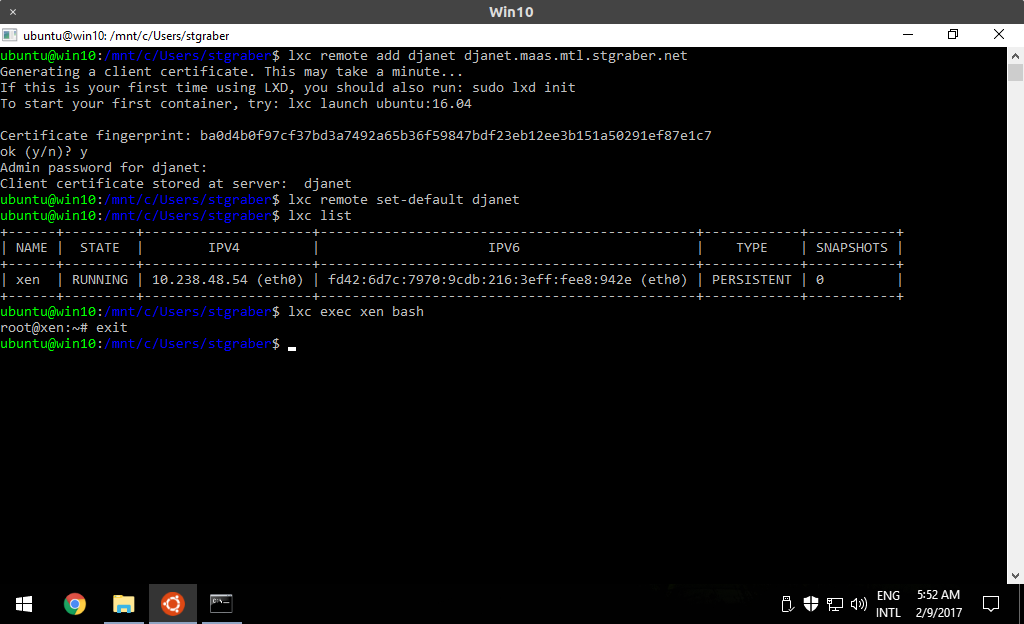
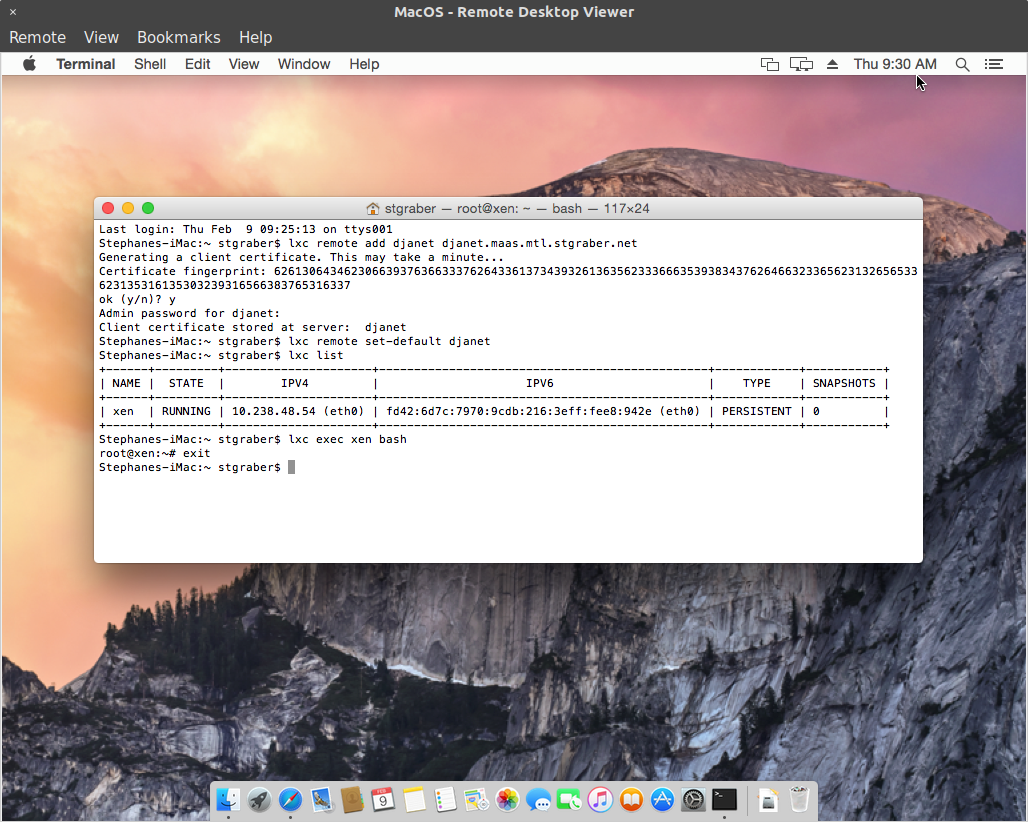
As I mentioned earlier, LXD is a networked daemon. The command line client that comes with it can therefore talk to multiple remote LXD servers as well as image servers.
By default, our command line client comes with the following remotes defined
- local: (default remote, talks to the local LXD daemon over a unix socket)
- ubuntu: (Ubuntu image server providing stable builds)
- ubuntu-daily: (Ubuntu image server providing daily builds)
- images: (images.linuxcontainers.org image server)
Any combination of those remotes can be used with the command line client.
You can also add any number of remote LXD hosts that were configured to listen to the network. Either anonymously if they are a public image server or after going through authentication when managing remote containers.
It’s that remote mechanism that makes it possible to interact with remote image servers as well as copy or move containers between hosts.
Security
One aspect that was core to our design of LXD was to make it as safe as possible while allowing modern Linux distributions to run inside it unmodified.
The main security features used by LXD through its use of the LXC library are:
- Kernel namespaces. Especially the user namespace as a way to keep everything the container does separate from the rest of the system. LXD uses the user namespace by default (contrary to LXC) and allows for the user to turn it off on a per-container basis (marking the container “privileged”) when absolutely needed.
- Seccomp. To filter some potentially dangerous system calls.
- AppArmor: To provide additional restrictions on mounts, socket, ptrace and file access. Specifically restricting cross-container communication.
- Capabilities. To prevent the container from loading kernel modules, altering the host system time, …
- CGroups. To restrict resource usage and prevent DoS attacks against the host.
Rather than exposing those features directly to the user as LXC would, we’ve built a new configuration language which abstracts most of those into something that’s more user friendly. For example, one can tell LXD to pass any host device into the container without having to also lookup its major/minor numbers to manually update the cgroup policy.
Communications with LXD itself are secured using TLS 1.2 with a very limited set of allowed ciphers. When dealing with hosts outside of the system certificate authority, LXD will prompt the user to validate the remote fingerprint (SSH style), then cache the certificate for future use.
The REST API
Everything that LXD does is done over its REST API. There is no other communication channel between the client and the daemon.
The REST API can be access over a local unix socket, only requiring group membership for authentication or over a HTTPs socket using a client certificate for authentication.
The structure of the REST API matches the different components described above and is meant to be very simple and intuitive to use.
When a more complex communication mechanism is required, LXD will negotiate websockets and use those for the rest of the communication. This is used for interactive console session, container migration and for event notification.
With LXD 2.0, comes the /1.0 stable API. We will not break backward compatibility within the /1.0 API endpoint however we may add extra features to it, which we’ll signal by declaring additional API extensions that the client can look for.
Containers at scale
While LXD provides a good command line client, that client isn’t meant to manage thousands of containers on multiple hosts. For that kind of use cases, we have nova-lxd which is an OpenStack plugin that makes OpenStack treat LXD containers in the exact same way it would treat VMs.
This allows for very large deployments of LXDs on a large number of hosts, using the OpenStack APIs to manage network, storage and load-balancing.
Extra information
The main LXD website is at: https://linuxcontainers.org/lxd
Development happens on Github at: https://github.com/lxd
Mailing-list support happens on: https://lists.linuxcontainers.org
IRC support happens in: #lxcontainers on irc.freenode.net
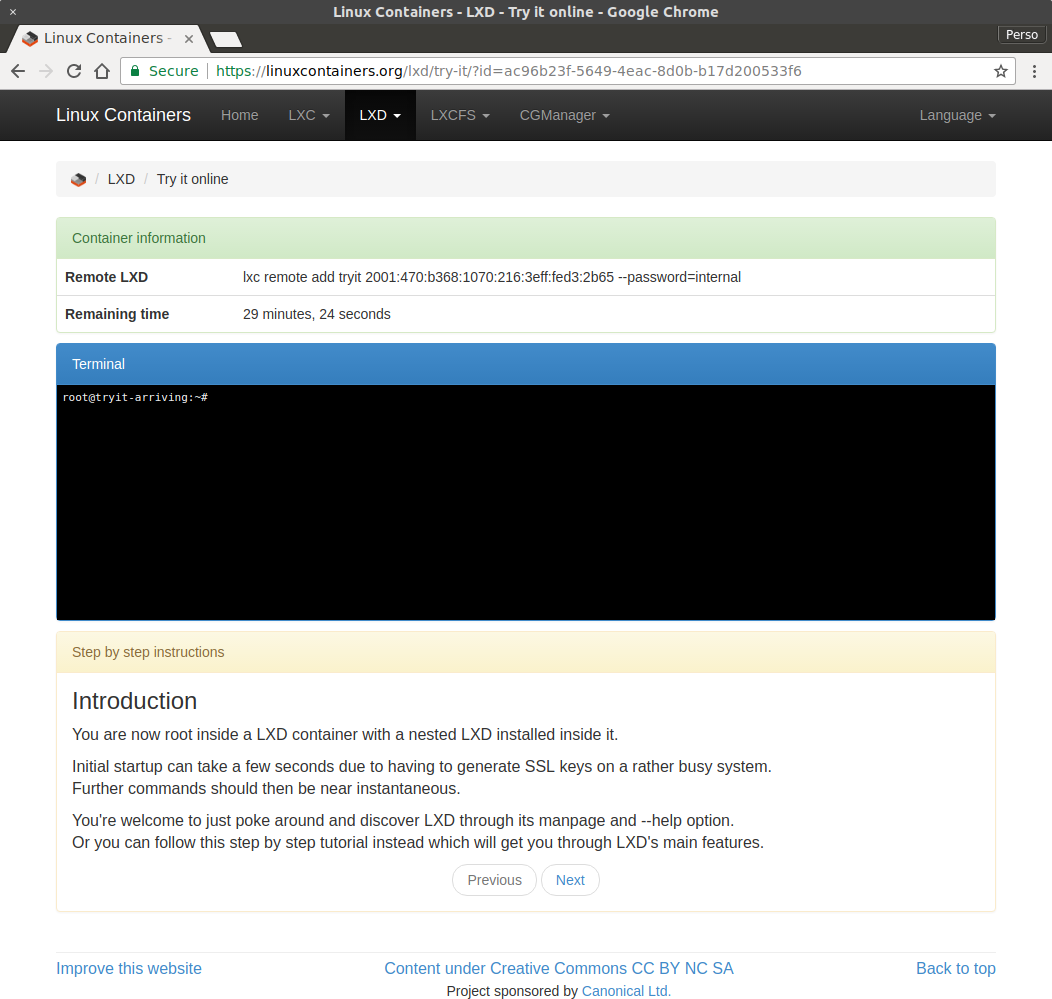
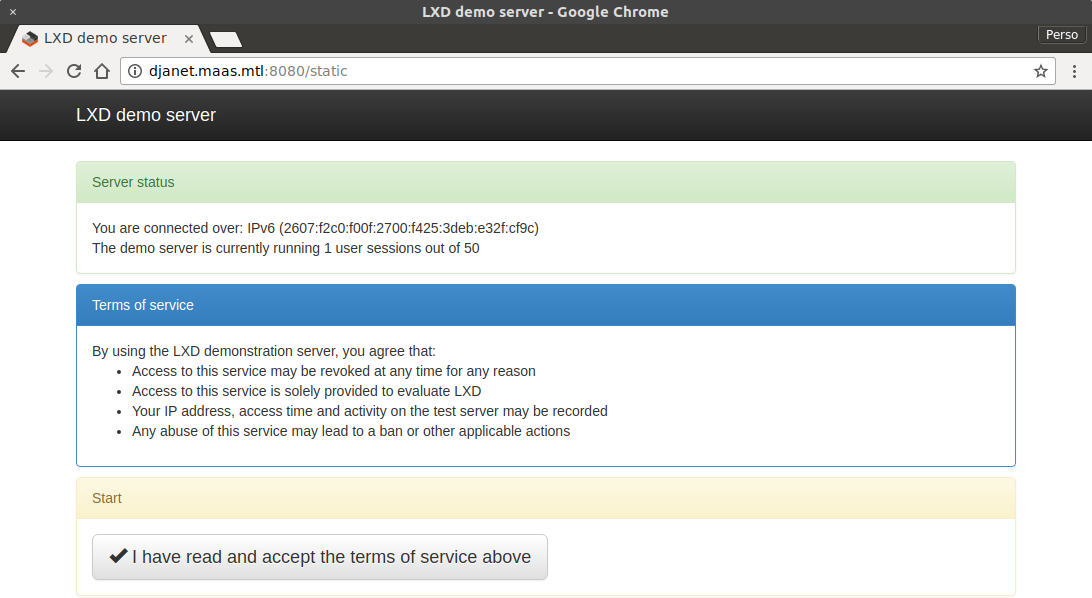
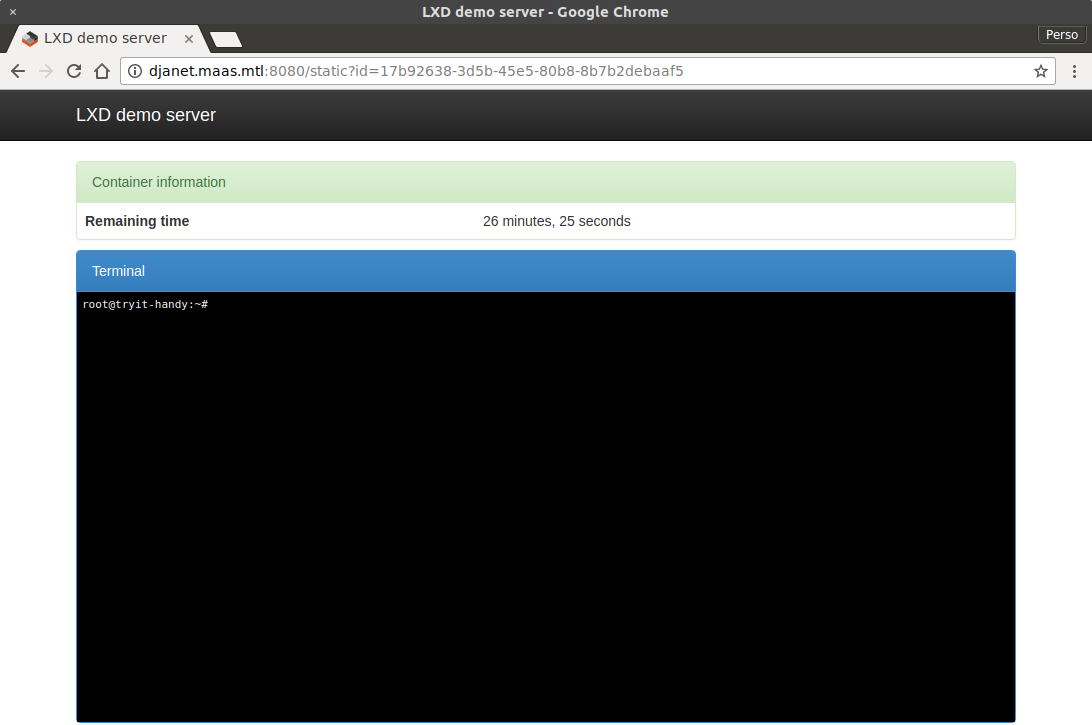
And if you can’t wait until the next few posts to try LXD, you can take our guided tour online and try it for free right from your web browser!